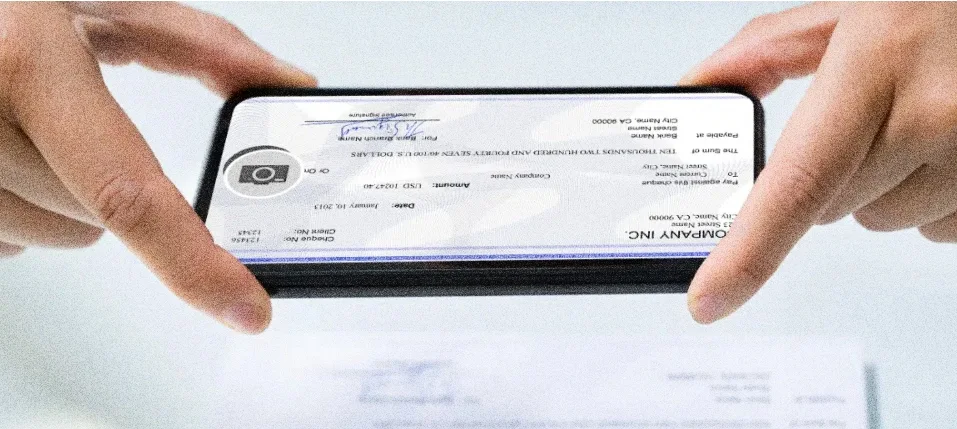
Using old scanning devices to save a digital copy of important documents can be time-consuming and not always available at your fingertips. However, with the development of smartphones, you can now scan documents using Android phones in more than one way. Both Google Drive and Microsoft Lens apps allow you to scan documents through your phone's camera and convert them into PDF files within minutes. Here's how to do it using any Android phone:
Scanning documents using Google Drive app:
- Go to the Google Drive app on your phone and make sure you're logged in with your Google account.
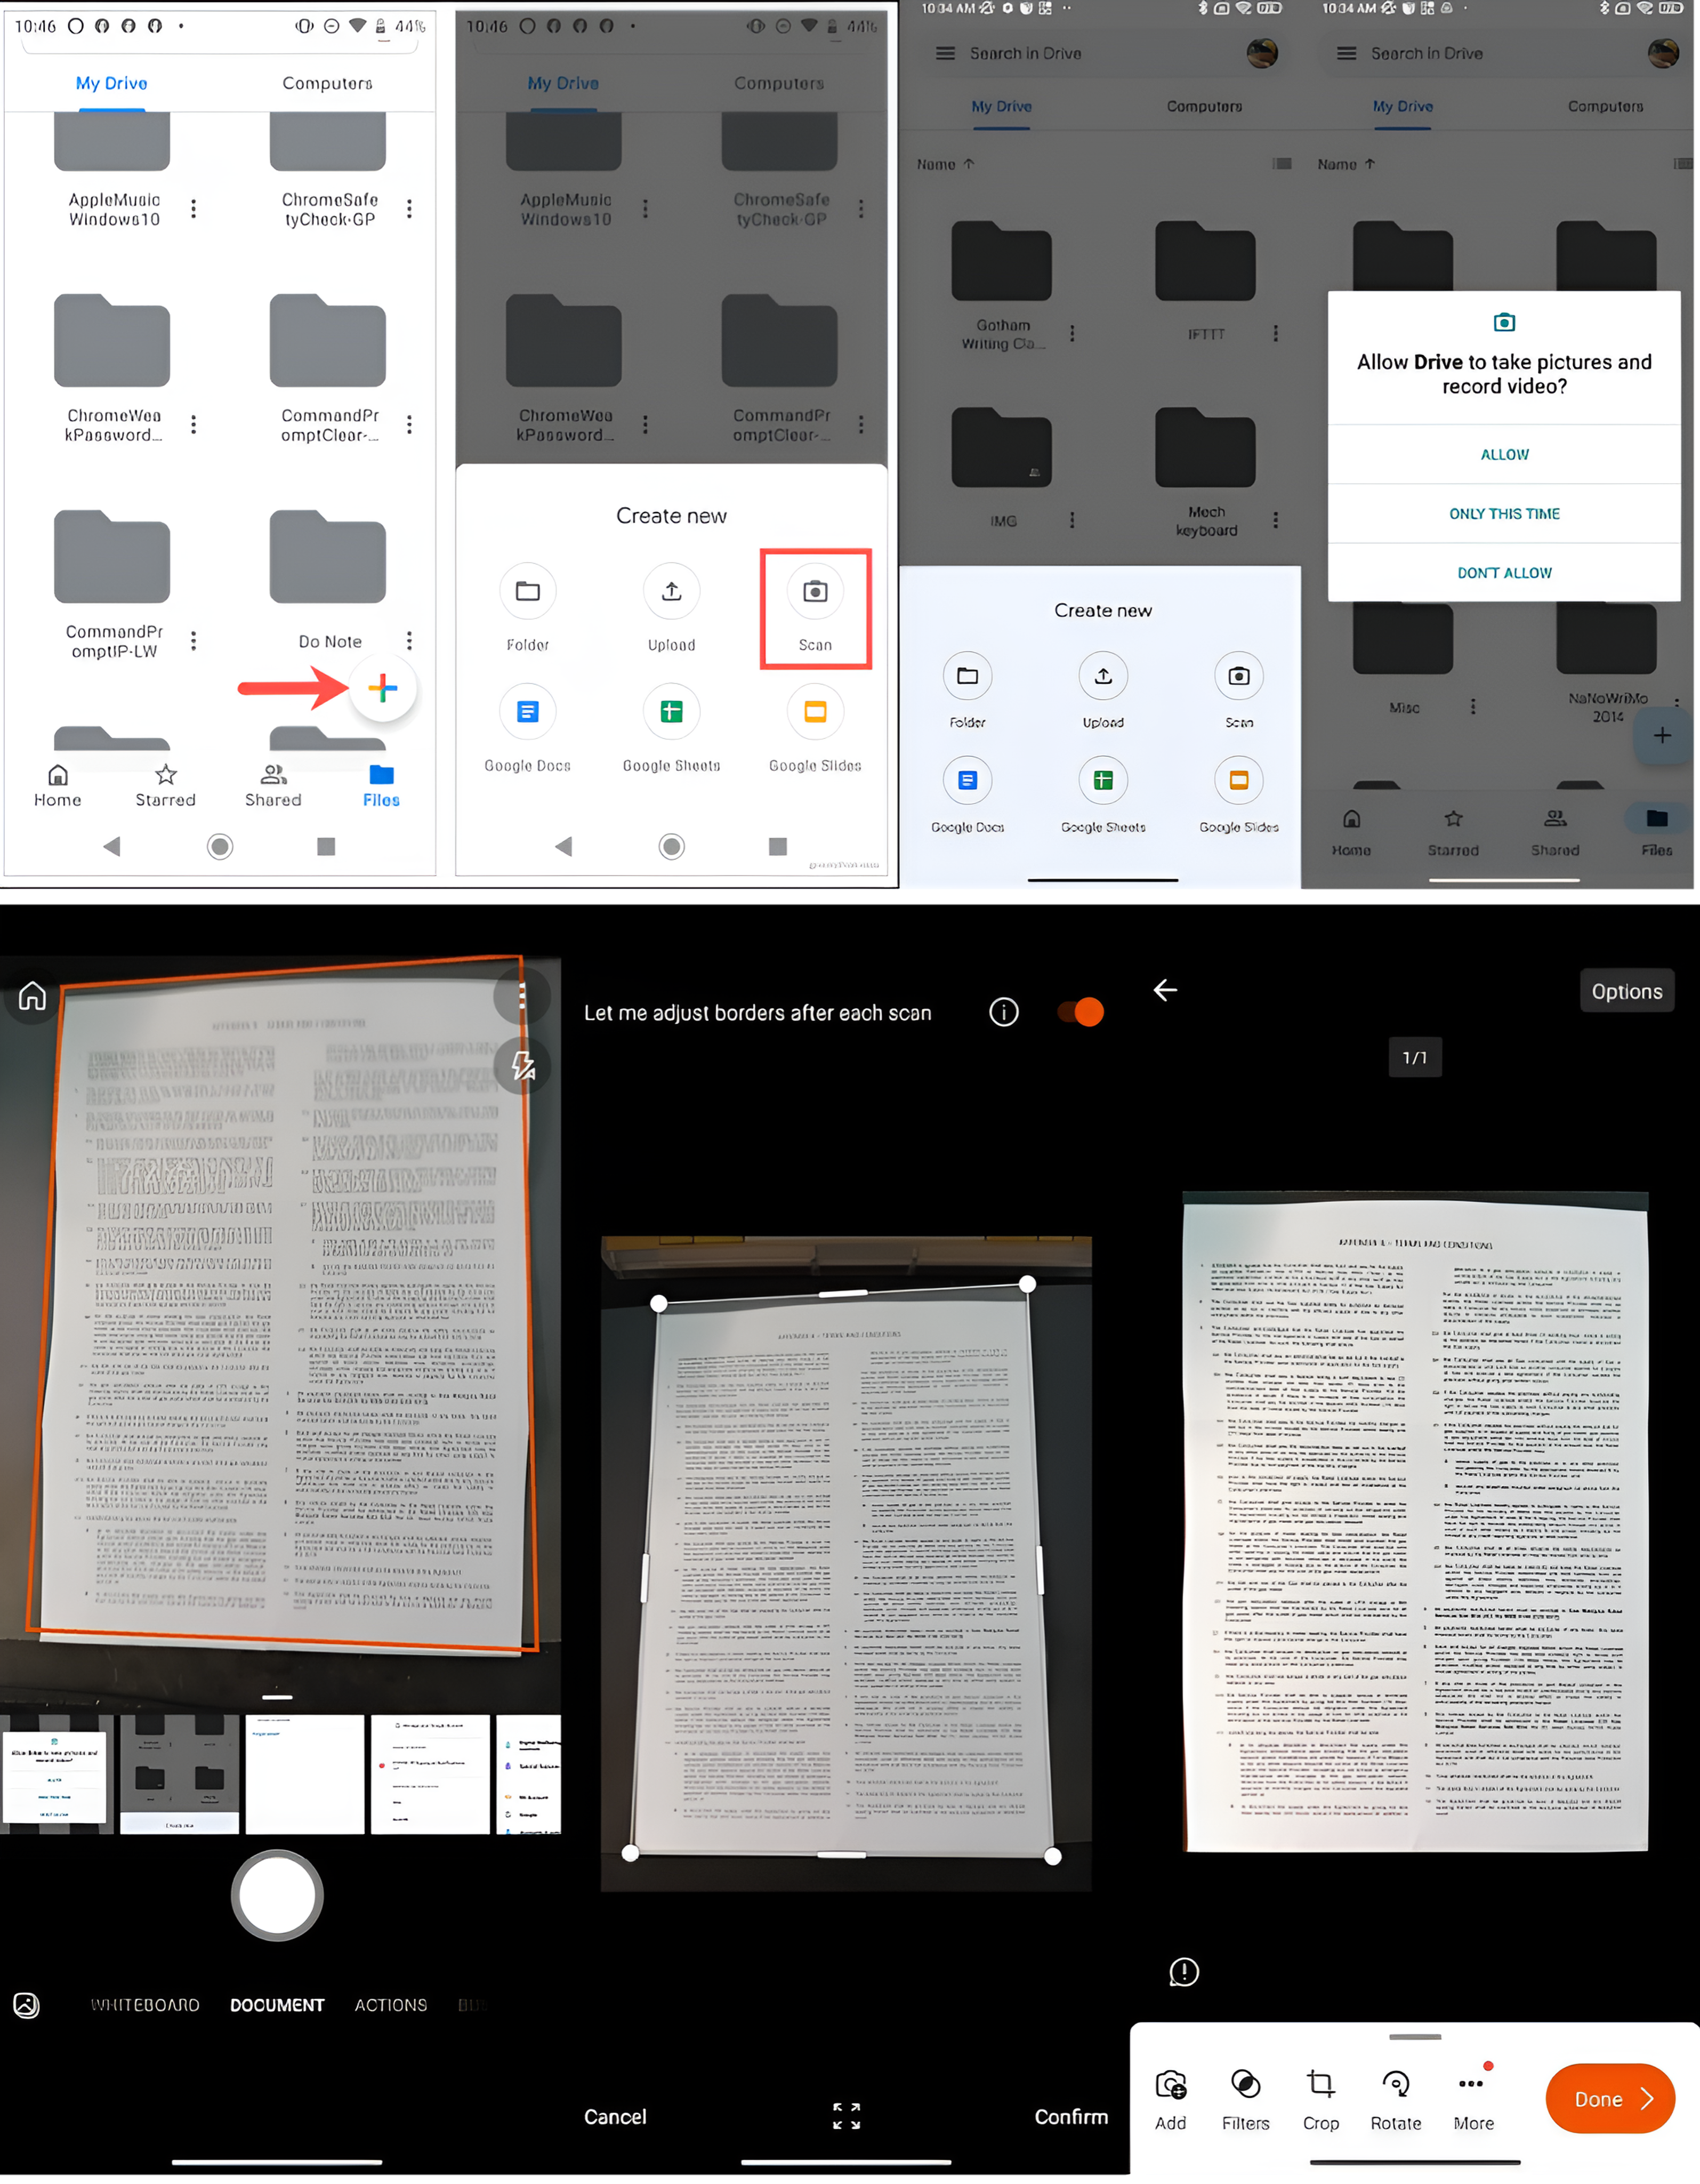
- Tap the floating icon with a plus sign (+) in the bottom right corner and select Scan to activate the camera. You may need to grant the app permission to use the camera first.
- Place the document you want to scan on a flat surface and move your phone over it to take a picture of the document.
- Google Drive will automatically adjust the image. On the next screen, confirm if you want to use the image by tapping the checkmark button if the image is good.
- The app will automatically adjust the image, and you can also adjust it manually using the crop and color adjustment buttons.
- To add another page to the document, tap the "Add Page" button in the lower-left corner. After adding all the pages, tap the "Save" option in the bottom right corner.
- On the next screen, you can name the file and choose the folder where you want to save it. Then, tap "Save" to save the file to Google Drive, where you can access and edit it from any other device as desired.
Scanning documents using Microsoft Lens application:
- Open the (Microsoft Lens) app on your phone. Select the (Document) tab in the bottom toolbar.
- Aim the camera at the document and take a picture of it.
- The app will automatically adjust the image, or you can manually adjust it using the editing options available in the bottom toolbar.
- To add another page to the document, press the (Add) option next to the editing options in the bottom toolbar.
- Once you have finished adding all the pages, press the (Done) option in the bottom right corner.
- On the next screen, you can name the file and choose a location to save it, as well as choose the format to save it as a PDF, Word file, or PowerPoint file.
- When you're done, press the (Save) option.


